Click on any thumbnail image below


|
Click on any thumbnail image below |
|
|
May 25, 2006. I put a single drip emitter in for each 6' arborvitae. The controller turns them on for 30 minutes at 5 AM on odd dates. That should be 1 gallon, right? |
|
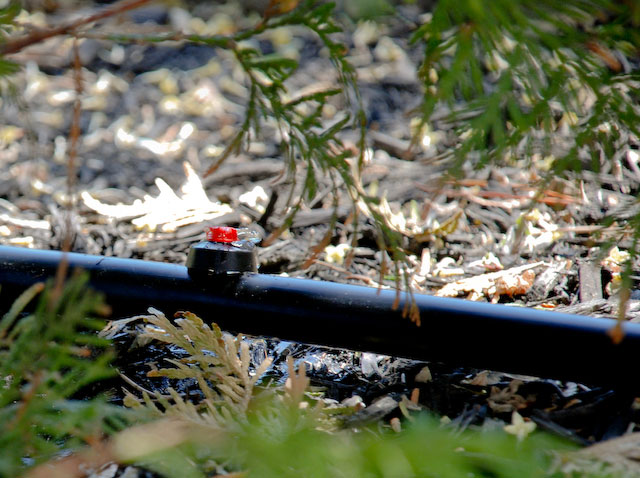
May 25, 2006. This is a close-up of one of the twelve 2-GPH drip emitters in the act of emitting. All these parts are now available at the local Lowe's. |
|
Nov 9, 2006. "It's supposed to look like that!" Jayne needs to tell me the name of this strange juniper she picked to hide the utilities area. |
|
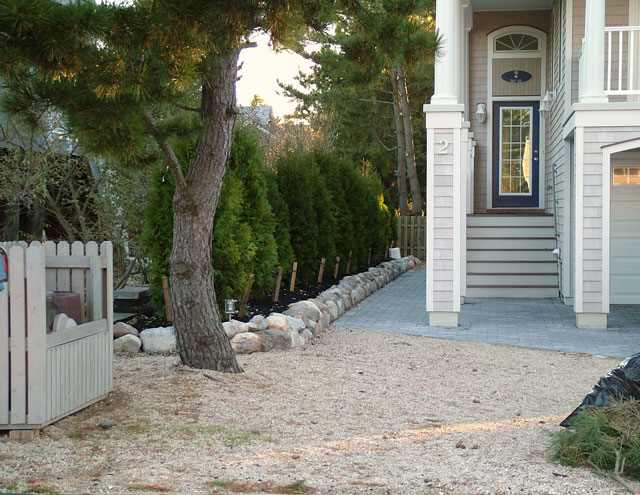
Nov 9. The walkway is done! |
|
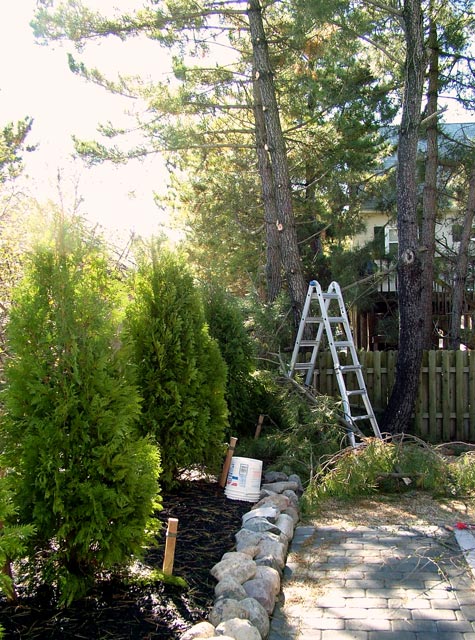
Nov 9. With the shrub bed now reaching all the way to the back of the lot, I needed to trim the overhanging black pine tree limbs to let in more light. It's an unanticipated part of the job. |
|
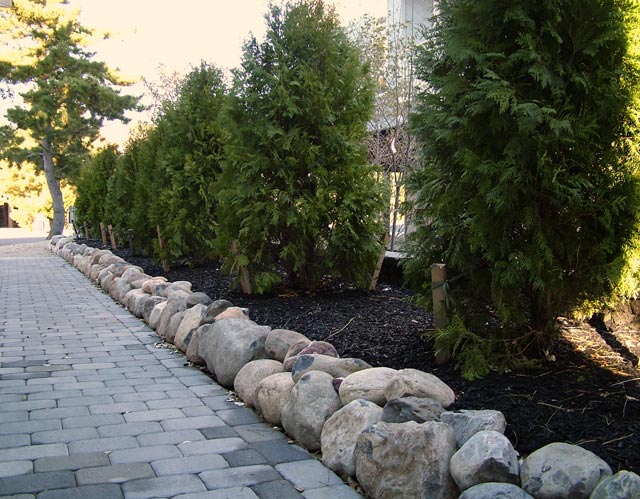
Nov 9. Mark Reynolds got us these REALLY BIG river rocks for the border. I don't think that they're going anywhere. |
|
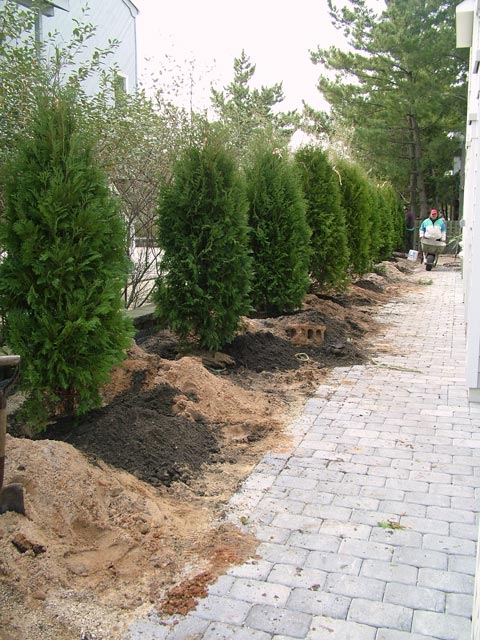
Oct 27. Sticking up out of the soil in the foreground is the polypipe water supply line I installed for the drip tubing that will irrigate this bed. |
|
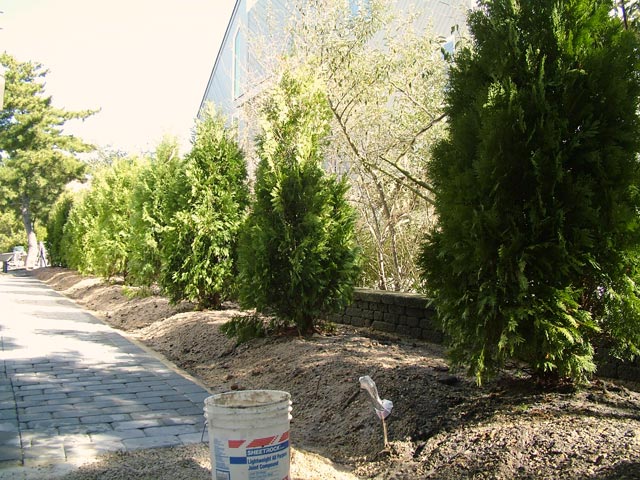
Oct 27. The arborvitae are tied to stakes to prevent blowing over. Good thing - Winds are predicted to be over 60 mph tomorrow. The storm is also expected to drop 5 inches of rain. Perhaps I didn't need the irrigation system. |
|
Oct 27. The gaps around the root balls are packed with fresh topsoil. On the mainland arborvitae are considered prime "deer food." Since deer are lousy swimmers our little island is deer-free. |
|
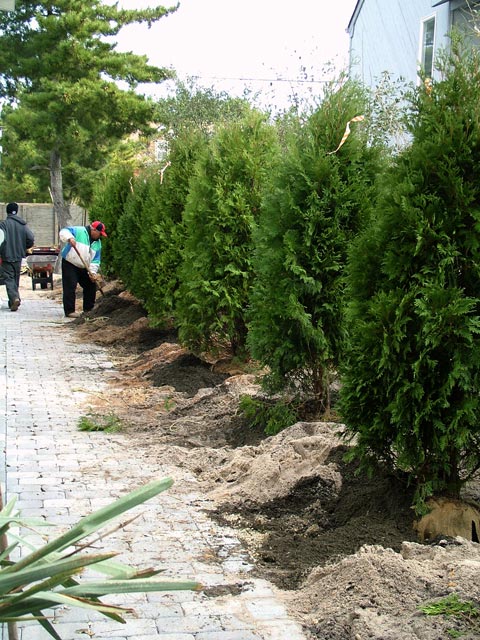
Oct 27. These will grow and fill in to provide some privacy for the walkway. |
|
Oct 27. The planted row takes shape. Halfway back can be seen an unearthed cement block. Digging in this property always seems to yield more archaeologic artifacts. |
|
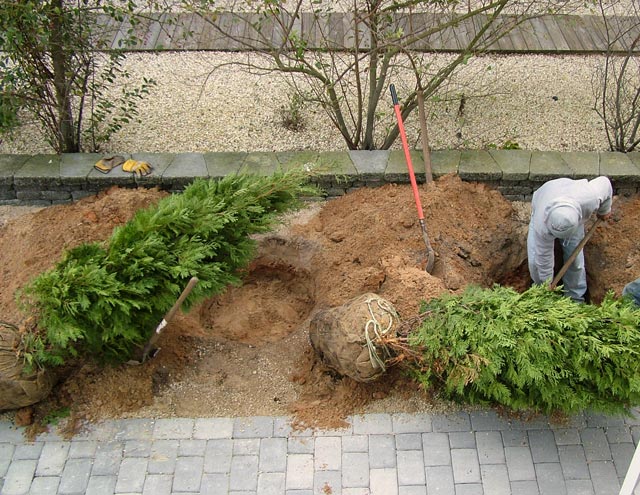
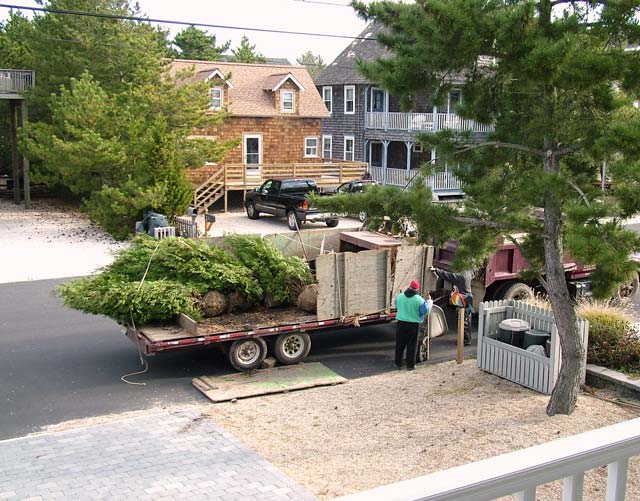
Oct 27. The holes are dug for the root balls. As always, excavating in this very sandy soil is a breeze. Arborvitae and their planting are by Reynolds Landscaping. |
|
Oct 27. The arborvitae are delivered for the east side bed. Ironically, the species is also known as White Cedar and is the source of our shingles. |
|
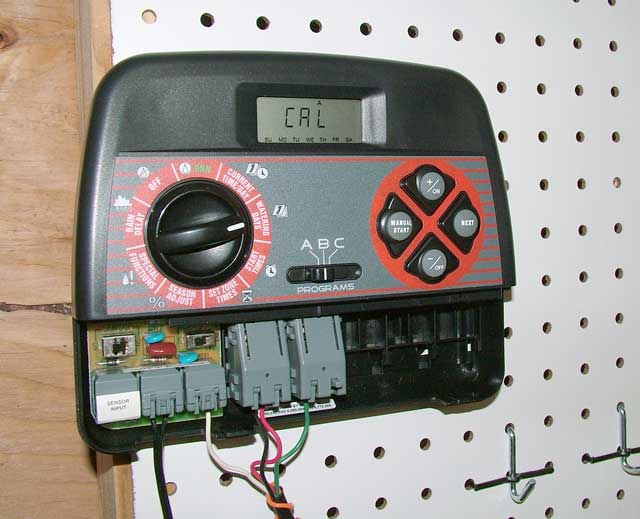
Sept 30. Here is the irrigation controller with the wiring cover removed. The quick-connects for the cabling make for an easy hook-up. There is also a place to hook up a rain sensor. There is no problem mixing components, as the valves and controller use the same 12v standard. |
|
Sept 30. I mounted the Toro solid state controller (from Home Depot) indoors. This unit has an optional USB dongle (like a thumb drive) so that the watering program can be set up on a PC and transferred to the controller via the dongle. But programming the unit directly seems easy enough. |
|
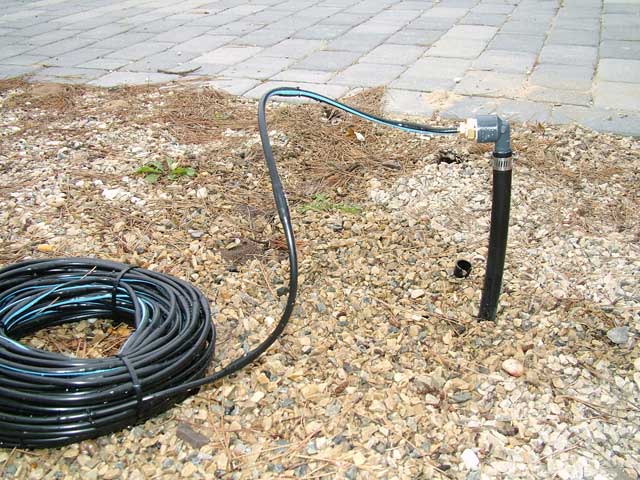
Sept 30. With all the pipe & drains buried, only the drip ends are exposed. Shown is the drip end and emitter tubing for the front shrub/flower bed. So, where's the bed? Coming soon. |
|
Sept 17. At the far end of the front line I struck groundwater. No problem. It just means that I couldn't dig any deeper without everything caving in. I had to quickly bury the polypipe and drain valve |
|
Sept 17. The polypipe needed to run under the gas supply line. |
|
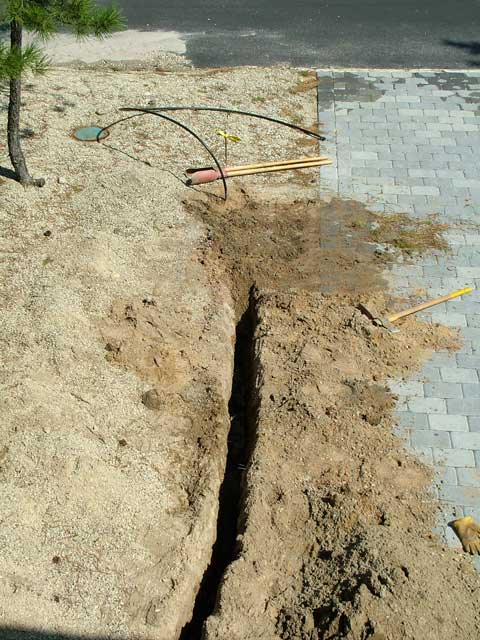
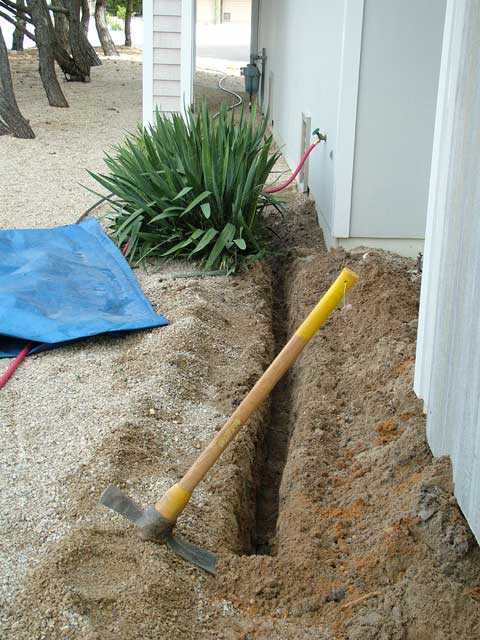
Sept 17. The ditches average 12" deep, sloping down to 24" at the far ends to allow drainage. Special drain valves at the low points in the lines release standing water when the pressure is off. This is all done to protect from freezing. |
|
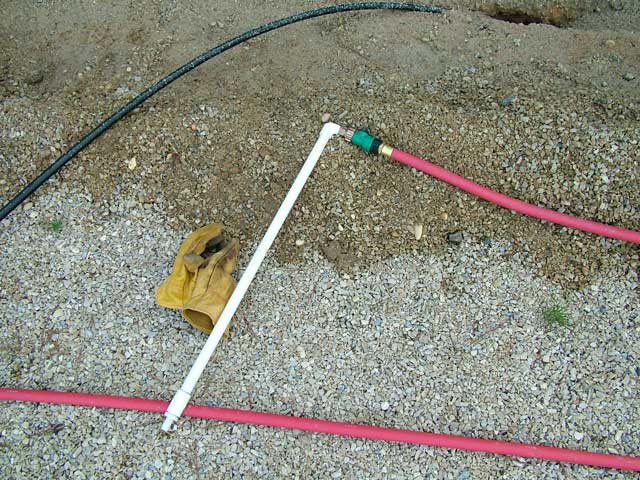
Sept 17. I made my own version of the water jet used to set the house pilings. It's just PVC pipe and a garden hose. I used this to tunnel under large roots, utility lines and one very large buried boulder. I have no idea how or when the boulder got onto the island. |
|
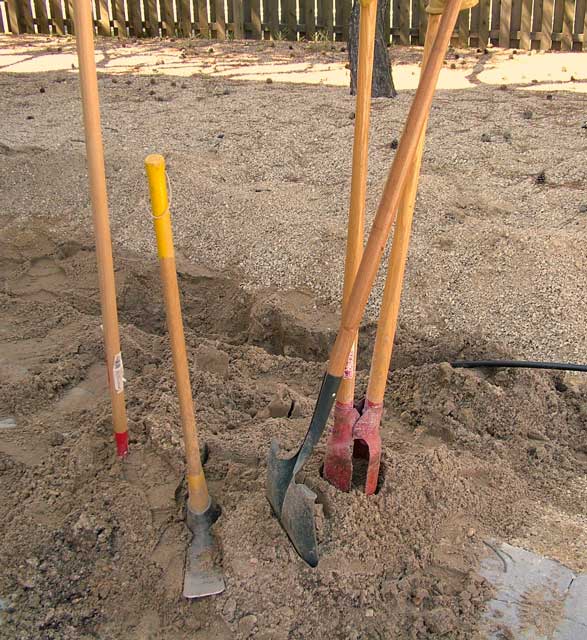
Sept 17. The tools needed to dig most of the ditches for the polypipe are straight forward: Hoe, mattock, shovel and post-hole digger. |
|
Sept 02. The ditch digging is relatively easy in the sandy soil, but I'm learning how extensive the black pine roots are near the surface. The mattock turns out to be the best overall tool for this job. |
|
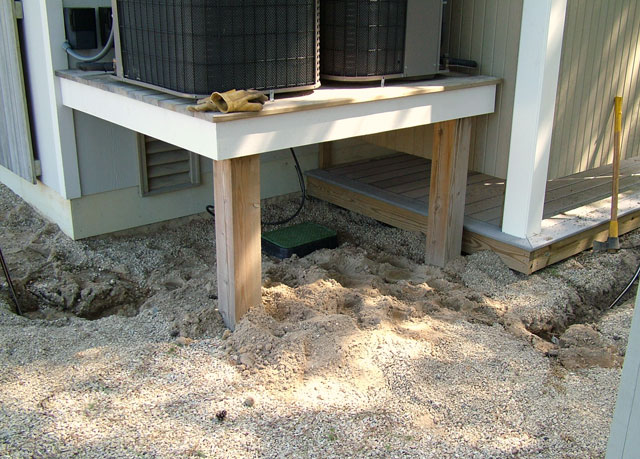
Sept 02. I located the supply end under the AC condenser units platform. It will keep the control valves out of the way, but makes adjustment a hands-and-knees operation. |
|
Sept 02. A close-up shot of the Orbit distribution manifold in my valve box. Tap & valve #1 go to the front shrub bed. Tap & valve #3 go to the east side bed. The center tap (#2) is currently plugged off. We'll use #2 for future expansion of the system (i.e. a third flower bed). |
|
Sept 02. The distribution manifold and the supply line. I just use a washing machine supply hose. I like this approach as I can quickly and completely disconnect the system off-season. |
|
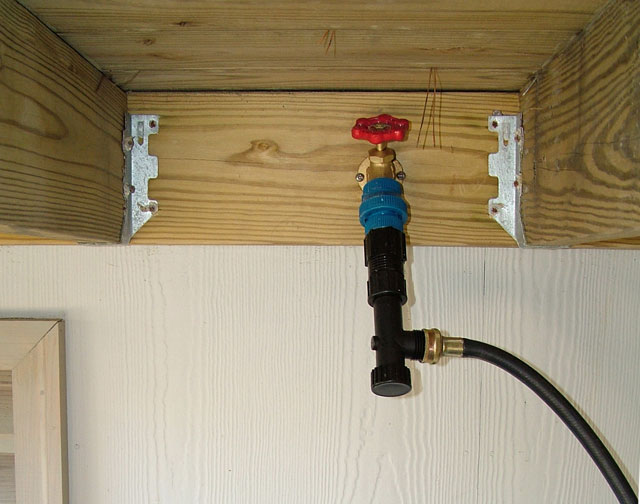
Sept 02. The water supply assembly is sold as a simple kit from Toro. This is needed to protect and regulate a drip system. From top to bottom it includes a pressure regulator, a backflow preventer and a particle filter. |
|
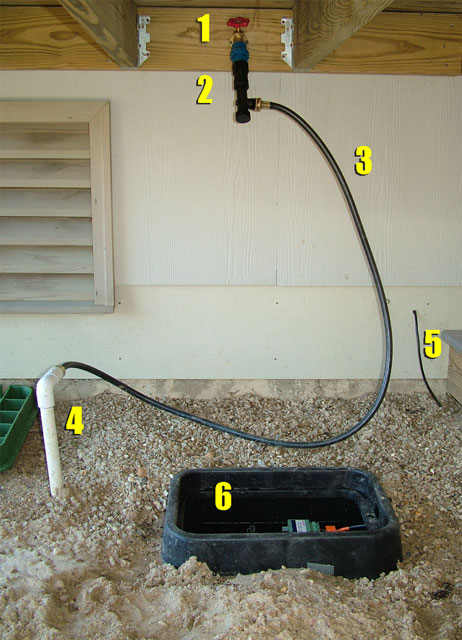
Sept 02. Here, installed are [1] the new hose bib, [2] water supply assembly (filter + pressure regulator), [3] the supply hose, [4] underground supply pipe. [5] buried control cable and [6] control valve manifold box. |
|
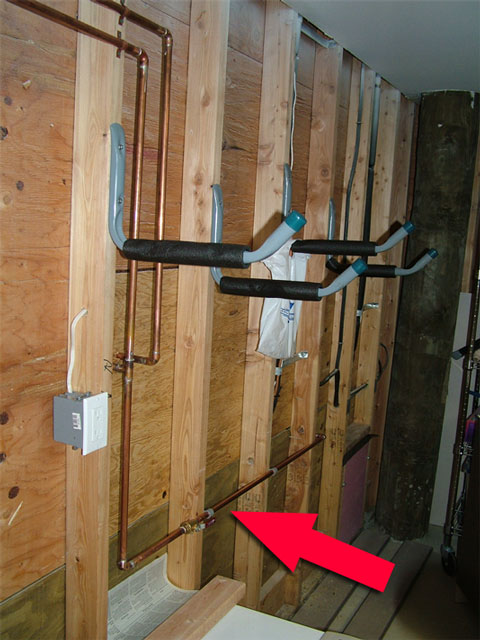
Aug 26, 2006. I started work on the drip irrigation system planned for our shrub beds. First, I needed to extend the lower level cold water line to a new outside hose bib. It involves some minor copper pipe sweating. |